TeamDesk doesn’t expose a native bulk file import button — but it does expose something more powerful: direct access to the underlying file structure through its backup and restore tools. By combining a database backup, a CSV edit, and the restore tool, you can upload dozens (or hundreds) of attachments in a single operation.
Here’s the full process.
1. Create a sample record with an attachment
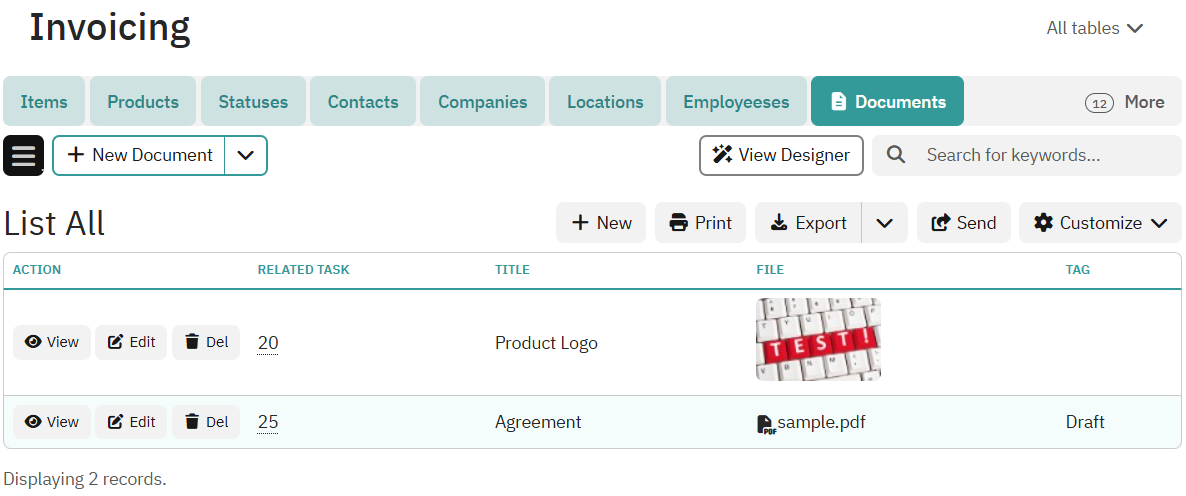
Before touching backups or CSVs, go to the table that holds your attachments and manually create one record. Upload a real file to the attachment field. This gives you a known-good example to reference when you inspect the CSV — specifically, it shows you the exact path format TeamDesk expects for attachment columns.
Don’t skip this step. The path format isn’t obvious, and seeing a real example in the CSV prevents hard-to-diagnose errors later.
2. Create a backup of your database
Use the TeamDesk Backup tool to export your entire database. This produces a tdbackupwin.zip file. Extract it — inside you’ll find CSV files for each table and a Files folder containing all currently stored attachments.
This archive becomes your working environment for the bulk upload.
3. Open the CSV file for your target table
Inside the extracted archive, find and open the CSV file for the table where you want to upload the attachments. Locate the attachment column and find the record you created in Step 1. You’ll see something like:

This is the path pattern you need to follow for every new file you want to import.
4. Add new rows and file paths to the CSV
For each file you want to upload, add a new row to the CSV (or update an existing row if you’re replacing a file). In the attachment column, write the path using the same format:

You can add as many rows as you need — one per file. Each row also needs a unique key value in the key column (or use an existing key to update a record rather than create a new one). Filling out the key column for creating new records is optional: if the column is empty, the system will generate the IDs for the new records.
The filename in the CSV path must exactly match the filename of the file you place in the Files folder — including case and extension.
5. Add your files to the Files folder
Copy all the files you want to upload into the Files folder inside the extracted backup archive — the same folder where TeamDesk stored your existing attachments. Every file referenced in the CSV must be present here.
Once all files are in place and all CSV rows are correct, save and close the CSV file.
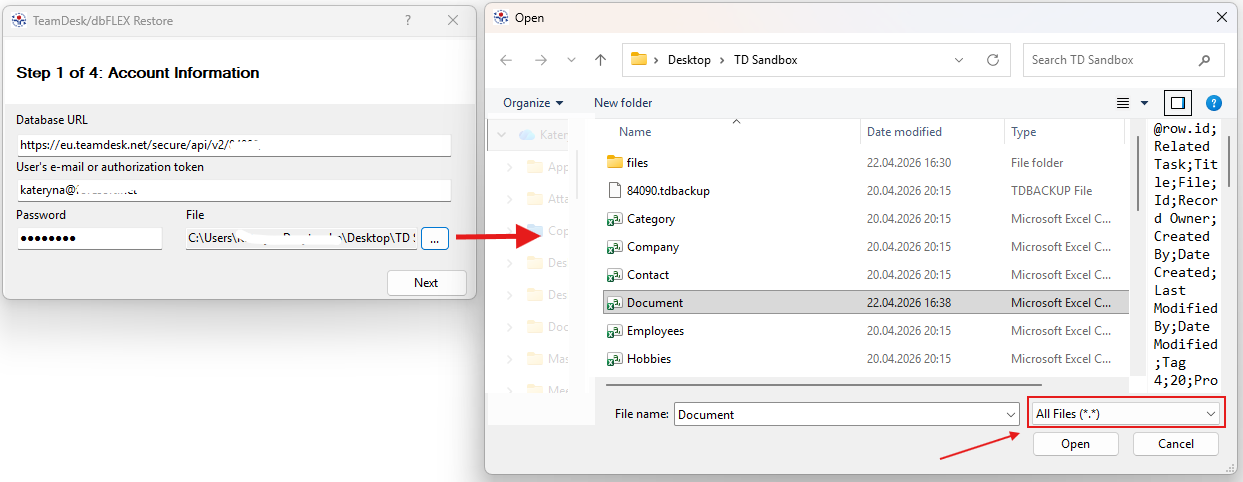
6. Restore the CSV using the TeamDesk restore tool
Open the TeamDesk restore tool and upload the modified CSV file for your table.
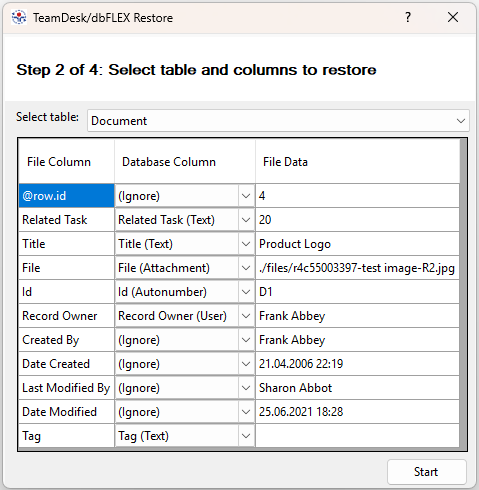
On the second step select a table where the data should be uploaded and check the columns mapping.
TeamDesk will process the rows, match the file paths, pull in the files from the Files folder, and create or update the records accordingly.
After the restore completes, check a few of the new records in your table to confirm the attachments appear correctly.
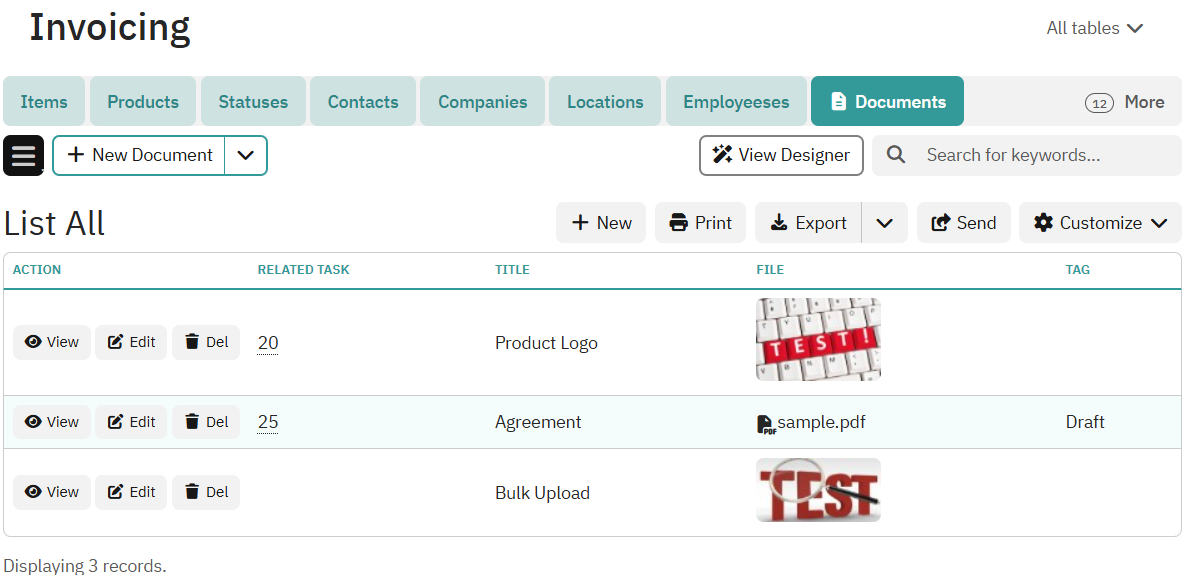
That’s the complete workflow. The key insight is that TeamDesk’s backup format is just a folder of CSVs and files — which makes it a reliable import mechanism, not just an export one. Once you understand the path convention, the process scales easily to hundreds of files with minimal manual effort.